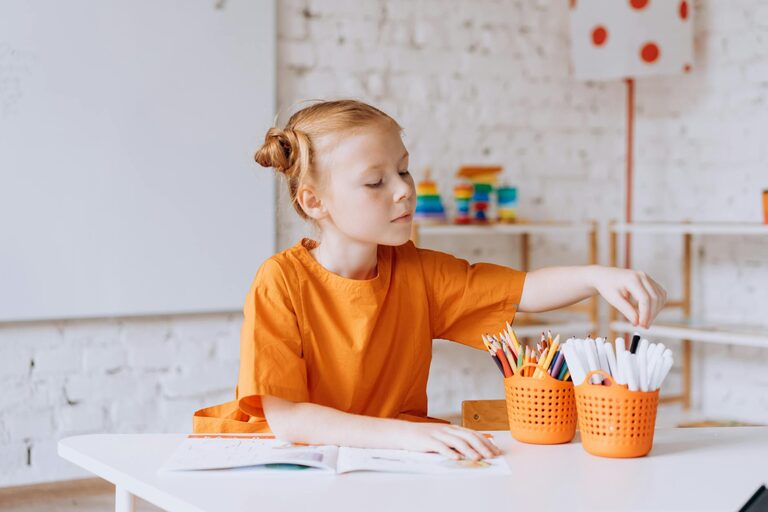
Bringing home your child’s colorful drawings, paintings, and crafts can fill your heart with joy — but it can also create a mountain of paper and projects that get in the way. Keeping kids’ art organized doesn’t have to be a stressful task. With a few simple strategies, you can cherish these creative keepsakes while maintaining an orderly space.
In this post, we’ll explore practical tips to manage and store your children’s artwork effectively. Whether you’re dealing with an overflowing drawer or looking to display masterpieces proudly, these ideas will help you create a balanced system that works for your family.
Why Organize Kids’ Art?
Kids’ artwork represents milestones in their development, creativity, and imagination. Saving these pieces can be a wonderful way to foster their confidence and look back on memories together. However, without an effective organization system, the artwork can quickly become overwhelming and clutter your living spaces.
Organizing kids’ art helps you:
– Preserve memories without mess
– Reduce clutter around your home
– Encourage your child’s creativity through display and review
– Make it easier to find and revisit special pieces
Step 1: Sort and Select Regularly
It’s natural to want to keep every drawing, but not every piece needs to be saved forever. Creating a habit of sorting and selecting helps manage the volume.
How to sort artwork
– Create categories: Sort into “Keep,” “Display,” and “Recycle” piles.
– Choose favorites: Select only the most meaningful or impressive pieces for long-term saving.
– Talk with your child: Let them help pick their most cherished projects. This can teach decision-making.
Try to go through new artwork weekly or monthly, so the collection doesn’t grow out of control.
Step 2: Use Dedicated Storage Solutions
Once you’ve selected the artwork you want to keep, physical storage is key to keeping things neat.
Storage ideas
– Portfolios: Art portfolios or large envelopes keep flat artwork organized by date or child.
– Binders with plastic sleeves: Perfect for smaller drawings or paper crafts.
– Expandable folders: Great if you prefer to separate by year or theme.
– Storage boxes: Large plastic or cardboard boxes can hold three-dimensional projects safely.
– Digital storage: Take photos and store art digitally, freeing physical space.
Label storage containers clearly with your child’s name and date range to keep track easily.
Step 3: Create an Art Display Area
Displaying some artwork honors your child’s efforts and adds a personal touch to your home.
Display tips
– Rotating gallery: Use a bulletin board, wire and clips, or frames where you can swap out art regularly.
– Collages: Assemble smaller pieces into one large framed collage.
– Photo displays: Make a digital slideshow or printed photo book from pictures of art.
– Creative places: Hang art in unexpected spots like the kitchen, hallway, or a playroom wall.
Limiting the display area size prevents overcrowding and makes art feel special.
Step 4: Digitize Artwork for Long-Term Keepsakes
Digital copies take up no physical space and offer versatile ways to enjoy your child’s creations.
Ways to digitize art
– Photograph or scan: Use a phone or scanner for high-quality images.
– Organize files: Create folders by year, child’s name, or type of art.
– Create digital photo books or slideshows: These make great gifts or keepsakes.
– Share digitally: Easily share your child’s creativity with family and friends.
Keep backup copies of digital files in case of accidental loss.
Step 5: Repurpose or Gift Artwork
Instead of storing every piece, consider repurposing or gifting some creations.
Ideas to repurpose art
– Greeting cards: Turn drawings into personalized birthday or thank-you cards.
– Wrapping paper: Use large paintings as unique gift wrap.
– Craft materials: Cut older art into shapes for new craft projects.
Gift ideas
Grandparents and relatives often appreciate receiving original artwork. Including a note about your child’s age and inspiration can add meaning.
Step 6: Build a Family Art Ritual
Making art organization part of a family routine can reinforce its importance and create fun memories.
– Art review day: Set a monthly date to look through and organize new pieces together.
– Art scrapbook: Create scrapbooks with your child that blend artwork, photos, and stories.
– Celebrate progress: Take time to talk about changes in your child’s style or skills over time.
Final Thoughts
Kids’ art is a precious expression of their growth and imagination. Organizing it thoughtfully ensures these memories don’t become a source of stress but a source of joy. By sorting regularly, using smart storage, displaying favorites, digitizing, and making organization a family activity, you’ll create a system that honors your child’s creativity while keeping your home tidy.
With these tips, your kids’ artwork will be a well-loved and well-managed treasure for years to come!

